
🎉 100% CASHBACK ON EVERY ORDER — SHOP NOW!

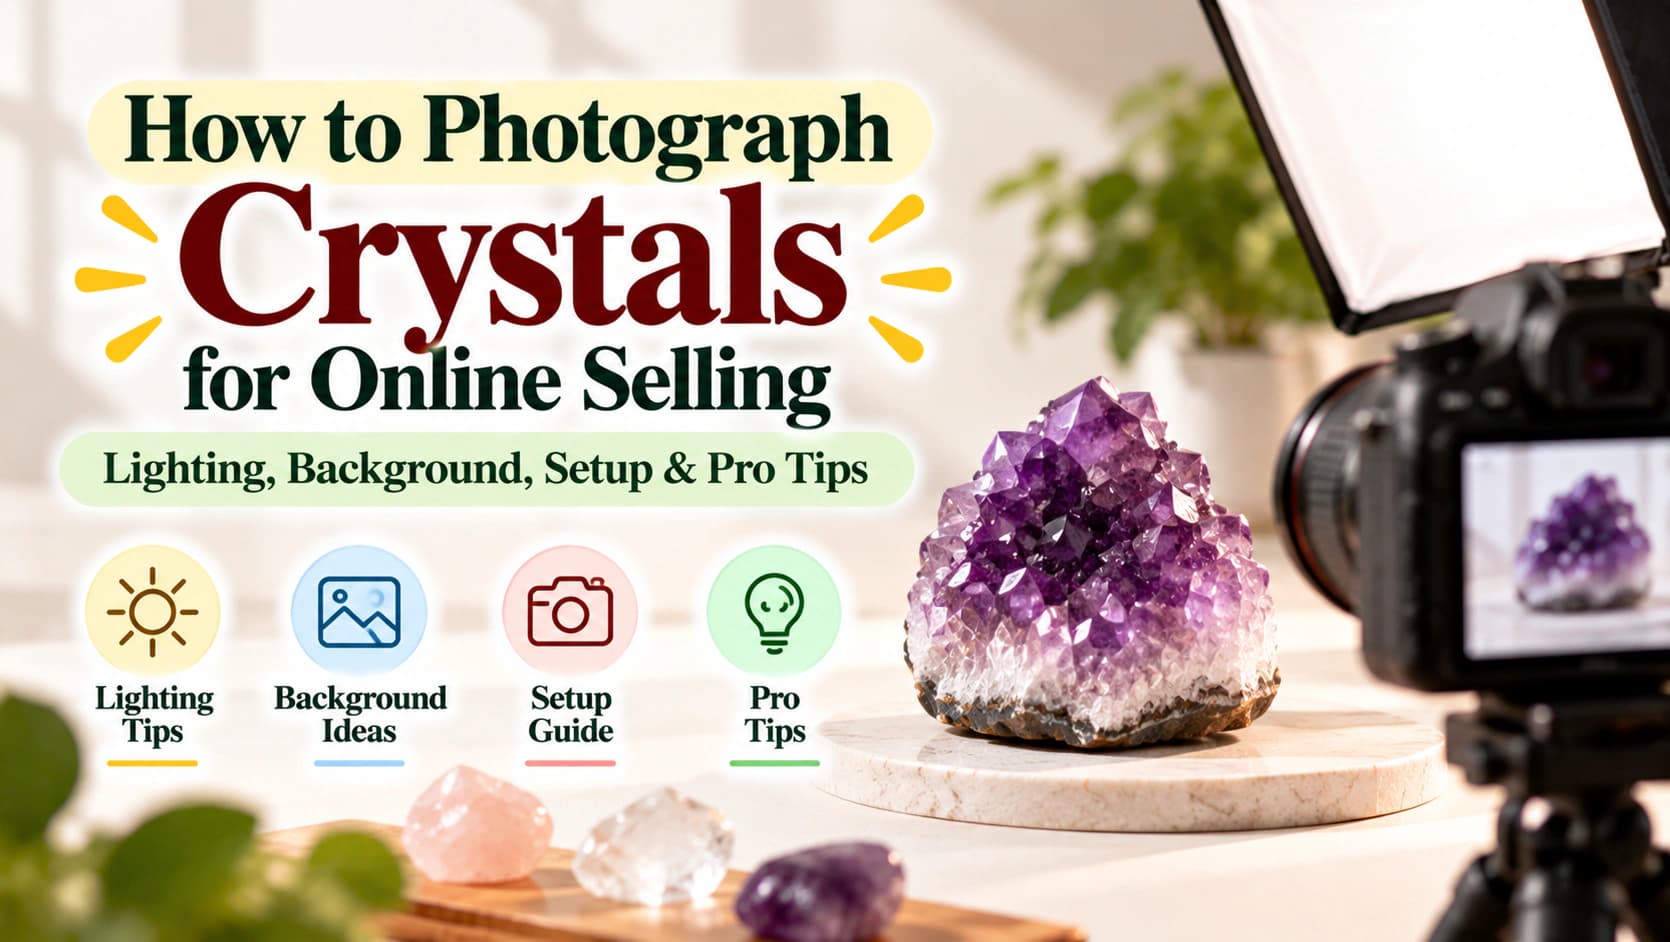
How to Photograph Crystals for Online Selling: A Complete Guide

Learn effective techniques for photographing crystals to enhance online sales. Discover tips on lighting, background, and detailed setups.
Astro Aarambh 21 October 2026 6 min read
How to Photograph Crystals for Online Selling: A Complete Guide

Photographing crystals for online selling requires careful attention to lighting, background, and detail to truly capture their beauty. This guide will walk you through effective techniques to create stunning crystal product images that draw in customers.

1. Understanding Crystal Product Photography

Crystal product photography is an art form that combines technical skills with creative vision. The goal is to showcase the unique characteristics of each crystal, allowing potential buyers to appreciate their beauty. This involves understanding how light interacts with the crystal's surface and choosing the right setup to enhance its features.

Why Crystal Photography Matters

  • High-quality images build trust with customers.
  • Beautiful photos can differentiate your products from competitors.
  • Effective images can lead to increased sales and customer engagement.

2. Essential Equipment for Photographing Crystals

To achieve stunning crystal photography, investing in the right equipment is crucial. While you don't need the most expensive gear, certain tools can significantly enhance your results.

Camera Options

  • DSLR or mirrorless cameras are ideal for flexibility and quality. They allow for interchangeable lenses which can be useful in close-up photography.
  • Smartphones with good cameras can also work well for beginners. Many modern smartphones have advanced features that support high-quality photography.

Additional Gear

  • Tripod: Stabilizes your camera for clear shots and reduces the chance of blurriness, especially in low-light conditions.
  • Lightbox: Provides controlled lighting conditions, making it easier to eliminate shadows and achieve consistent results.
  • Reflectors: Help bounce light and reduce shadows, enhancing the brightness of your crystals.
  • Macro Lens: Ideal for capturing the intricate details of the crystals.

3. Crystal Photography Lighting Techniques

Lighting is one of the most important aspects of capturing crystals effectively. The right lighting can bring out the details and colours of the stones, making them more appealing to buyers.

Types of Lighting

  • Natural Light: Ideal for softer images; shoot during golden hour for the best results. The warm tones during sunrise and sunset can enhance the colours of the crystals.
  • Artificial Light: Use LED lights for consistent brightness and colour temperature. Softbox lights can diffuse harsh lighting and create a soft glow.

Lighting Setups

  • Diffused Lighting: Softens harsh shadows; use softboxes or white sheets to diffuse light sources.
  • Backlighting: Highlights the transparency of certain crystals, making them glow. Position your light source behind the crystal to create a captivating effect.
  • Side Lighting: This can enhance the texture of the crystals and showcase their facets. Experiment with different angles to see what works best.

4. Choosing the Right Background for Crystal Photography

The background you choose can significantly impact how your crystals are perceived. A clean, uncluttered background helps the crystal stand out.

Background Options

  • Solid Colours: White or black backgrounds create a classic look. White backgrounds can make colours pop, while black can emphasize the crystal's brilliance.
  • Textured Surfaces: Wood or fabric can add depth to your images without distracting from the crystal. Consider using a light wooden surface for a natural look.
  • Gradient Backdrops: These can add a professional touch and create a sense of depth in your images.

Background Setup Tips

  • Ensure the background complements the crystal without distracting from it. Test different backgrounds with your crystals to find the best match.
  • Consider using seamless paper or fabric for a professional finish. This can be easily set up and allows for quick changes between shoots.

5. Focus and Detail in Crystal Photography

Capturing the intricate details of crystals can set your product images apart. Focus on the unique features that make each crystal special.

Techniques for Capturing Detail

  • Macro Photography: Use a macro lens for close-up shots. This allows you to highlight the textures and patterns that make each crystal unique.
  • Focus Stacking: Combine multiple images taken at different focus points to achieve greater depth of field. This is especially useful for larger crystals where you want to keep the entire surface in focus.

Handling Reflections

  • Be mindful of reflections from your light sources. Experiment with angles to minimize unwanted glare.
  • Using polarizing filters can help reduce reflections, especially on shiny surfaces.

6. Photographing Reflective Stones

Reflective stones can be challenging to photograph due to their shiny surfaces. However, with the right techniques, you can create stunning images that highlight their beauty.

Specific Techniques for Reflective Stones

  • Use a Soft Diffuser: Placing a diffuser between the light source and the crystal can help soften reflections.
  • Choose the Right Angle: Adjust your shooting angle to find the position that minimizes reflections while still showcasing the crystal's beauty.
  • Experiment with Backgrounds: Sometimes a darker background can help highlight the reflective qualities of certain stones.

7. Creating a Product Photography Setup

Setting up your photography space is crucial for consistency and quality. A well-organized setup can streamline the process and improve your results.

Setting Up Your Space

  • Choose a dedicated area with minimal distractions. A clean, clutter-free space will help you focus on capturing great images.
  • Ensure adequate power sources for your lights and camera. Planning your setup with power access in mind can save you time and frustration.

Arrangement Tips

  • Keep your workspace tidy to maintain focus. An organized environment can enhance your creativity and efficiency.
  • Organize your crystals for easy access during shooting. Use trays or containers to keep them sorted by type or size.

8. Post-Processing Techniques for Crystal Images

Post-processing can enhance your crystal images further, ensuring they look their best before being uploaded online. This step is crucial for achieving a professional finish.

Editing Software

  • Adobe Lightroom: Excellent for overall adjustments and color correction. It allows you to enhance exposure, contrast, and saturation easily.
  • Photoshop: Ideal for more detailed editing and retouching. You can remove blemishes and distractions from your images.

Common Editing Techniques

  • Adjust Brightness and Contrast: This helps highlight the crystal's features and make them more visually appealing.
  • Crop Images: Focus on the crystal by removing unnecessary elements from the frame.
  • Sharpening: Apply sharpening carefully to enhance details without creating noise.

9. Tips for Effective Crystal Ecommerce Photography

When selling crystals online, presenting them effectively can make a significant difference in attracting customers. Here are some tips to keep in mind.

Displaying Your Crystals

  • Show Multiple Angles: Provide customers with a 360-degree view of the crystal. This helps them understand its shape and size better.
  • Include Size References: Use common objects, like coins or rulers, to indicate scale, helping customers assess the size of the crystals.

Optimizing for Online Platforms

  • Use High-Resolution Images: Ensure that your images are clear and detailed. High-resolution images look more professional and trustworthy.
  • Ensure Images Are Web-Optimized: Compress images for faster loading times without sacrificing quality.

10. Conclusion: Bringing It All Together

By following these steps, you can effectively photograph crystals for online selling, creating appealing product images that resonate with your audience. Remember, practice makes perfect, so keep experimenting until you find the perfect techniques that work for you. Consider using products like the Raw Rose Quartz Crystals to showcase in your photography, as their soft pink hues can attract buyers. Additionally, using a 500 ML Black Tourmaline Healing Crystal Bottle can add a unique element to your product lineup.

For further reading, check out our guide on choosing crystals for your workspace and how to store crystals safely to keep them in perfect condition for photography.

?Frequently asked questions

Natural light is often the best choice for photographing crystals, especially during golden hour. However, using artificial LED lights can provide consistent brightness and colour temperature, making them a great alternative.

To reduce reflections on shiny stones, consider using polarizing filters and experimenting with various angles. Diffused lighting can also help minimize glare and highlight the crystal's details.

Solid colours, such as white or black, are ideal for crystal photography as they create a clean look. Textured surfaces like wood or fabric can add depth without distracting from the crystal.

Yes, macro photography is excellent for capturing intricate details of crystals. Focus stacking can also enhance depth of field, allowing you to highlight multiple features in one image.

Post-processing is crucial for enhancing crystal images. It allows you to adjust brightness, contrast, and sharpness, ensuring that the final images are polished and visually appealing for potential buyers.

Back to all blogs